Any time you clean your electronics, it’s a delicate balance between too much water or cleanser and too little cleaning power. The same is true for your headphones and earbuds.
Spring Cleaning Part Deux – Keeping Your Audio Clean
- News
- 04 Sep, 2018
Any time you clean your electronics, it’s a delicate balance between too much water or cleanser and too little cleaning power. The same is true for your headphones and earbuds.
Still, you know that anything you stick in a head cavity or on your head should be clean. That’s just logical. It prevents infections. Over the course of use, headphones and earbuds can become covered in oils, germs, cerumen*, and more.
*Cerumen is NOT to be confused with Saruman. It’s a fancy word for earwax, not a Lord of the Rings villain.

How to Clean Your Earbuds
- Unplug your earbuds from any device they’re attached to. If they are wireless, make sure they are turned off and not charged.
- If possible, remove the silicone or foam pads that cover the stereo portion of the earbud. Set them aside to clean separately.
- With a soft, dry nylon-bristle toothbrush, brush the stereo portion lightly to remove and loosen embedded dirt.
The speaker should face downward, so brushed debris falls out of the speaker instead of falling into the speaker.
-
You can use rubbing alcohol wipes as a gentle cleanser. Some people recommend a light mixture of dish soap and water
Dish soap works to clean oil, but could leave behind soapy residue. The important thing is that the cleanser is gentle and residue-free.
- Lightly moisten a microfiber cloth with the cleanser, then gently rub down the exterior portions of the earbuds.
- You can soak the removable silicone pads before cleaning them. Using a cue tip or the cleanser cloth, clean off the silicone or foam pads. They should fully dry before you place them back on the earbud.
- Repeat this procedure once a month, or whenever you feel like clean earbuds.

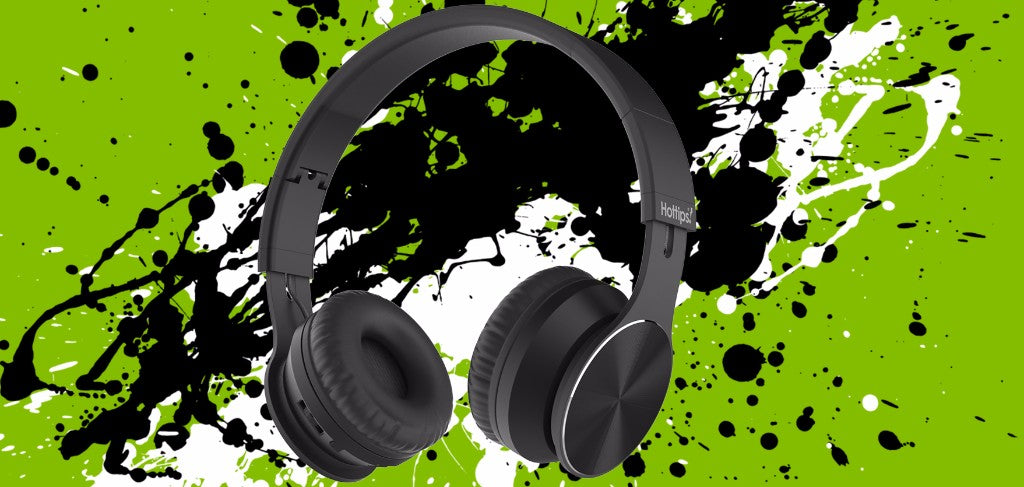
How to Clean Your Headphones
- Unplug your headphones from any device they’re attached to. If they are wireless, make sure they are turned off and not charged.
- Unlike earbuds, many pads can’t be removed from the headphones. So you may have to clean them as part of the headphone. Even if the pad can be removed, sometimes a foam layer is glued over the stereo mesh, and you may not be able to clean the stereo mesh directly.
-
Give the pads and any cloth-based elements a quick wipe-down with a disinfecting wipe. Do not use alcohol for any outer cloth, pleather, leather, or dyed portion of your headphones, as rubbing alcohol can cause the dye to bleed. A disinfecting wipe should not cause the dye to bleed.
- If the inner foam portion of the earpiece is not dyed, a small touch of rubbing alcohol on a microfiber cloth will clean the foam without getting it too wet. Make sure the foam is dry before putting the ear pads back on the headphones.
-
If foam doesn’t cover the speaker, brush the stereo portion with a soft nylon toothbrush to lightly remove and loosen embedded dirt.
The speaker should face downward, so brushed debris falls out of the speaker instead of falling into the speaker.
- On the hard external parts and cords, you can use alcohol to lightly moisten a cloth and give the shell and cord a once-over.
- If your headphones have stains on the cloth portions, you can try a lightly moist cloth and a very small amount of laundry detergent. If they have stains on the hard portion, you should use rubbing alcohol to attempt to remove them.
- The less moisture you use on your headphones and earbuds, the better.
- Repeat this procedure once a month, or whenever you want clean headphones.
Earwax might be a natural antibiotic, but don’t depend on it to keep germs off of your equipment and out of your ear orifices. Clean earbuds lead to happy ears! Or so we hear. So it might be time to give them a scrubbing before summer officially starts.